Creating Surveys and Forms in OM3
Did you check out our recently introduced Surveys and Forms functionality to complement your business needs? Within the OM3 platform you can now use a drag-and-drop editor to create:
- Surveys and Polls
- Event Registration Forms
- Contact Forms
- Interactive, Branching Landing Pages
If you haven’t already taken the free 30-day trial, log into your OM3 email marketing account and click the Survey & Forms navigation element. As an option, watch the video…
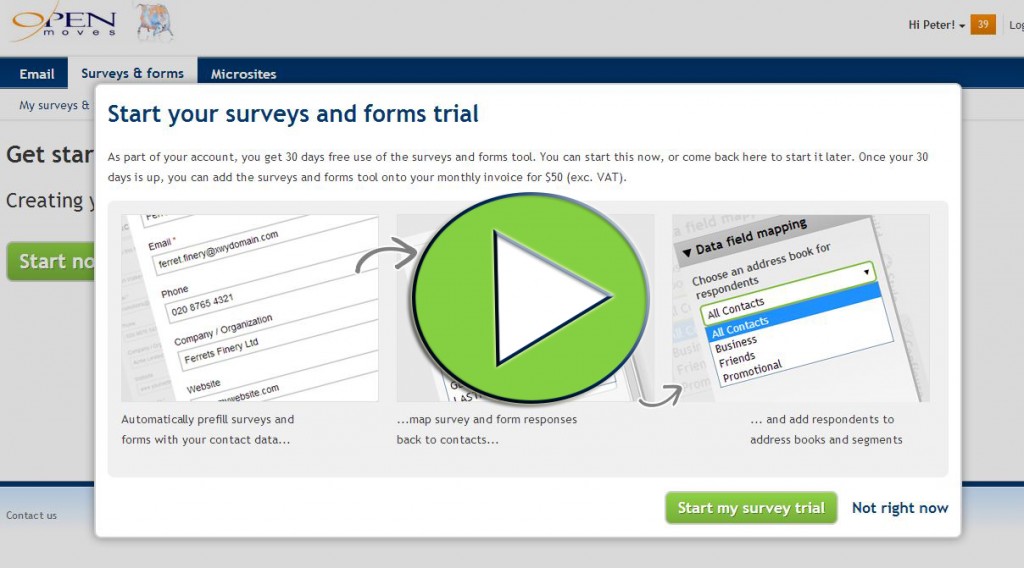
Click the green Start my survey trial button and you will be shown a number of templates to choose from.
P.S. If you don’t have a current OM3 account you can still take a Free Test Drive.
Creating a New Survey
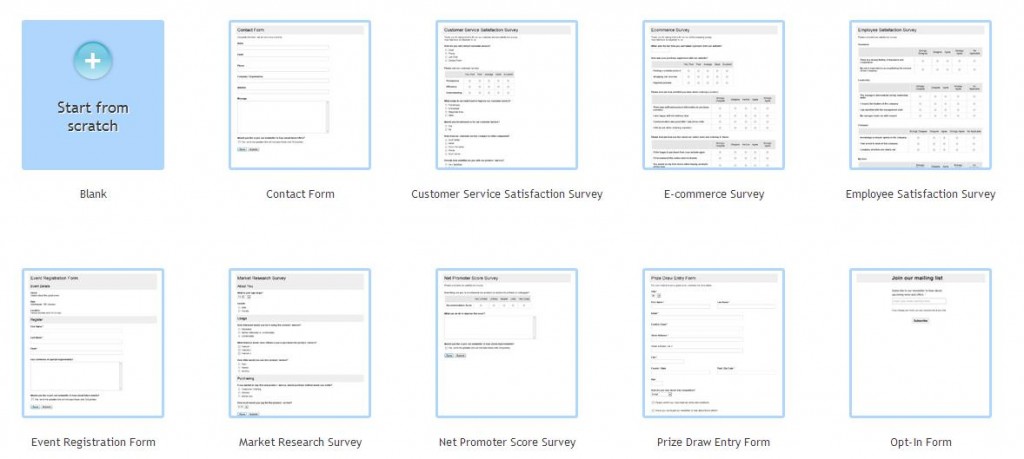
As you hover over each template, you will see that you can either Preview or Select the template. Alternatively, you can select a completely blank template and build your own from scratch. You can also modify each of the preloaded templates in the drag and drop editor.
The preloaded templates include sample layouts for contact forms, customer service satisfaction survey, ecommerce survey, employee satisfaction survey, event registration, market research survey, promoter score survey, prize drawing entry form and an opt-in form.
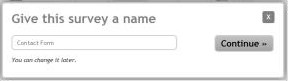
Select the template you wish to use, give your survey a name and click Continue.
Within the survey editor, you can build, style and configure your survey.
Common Drag and Drop Features
The top toolbar of the drag and drop editor displays familiar features.
![]()
![]()
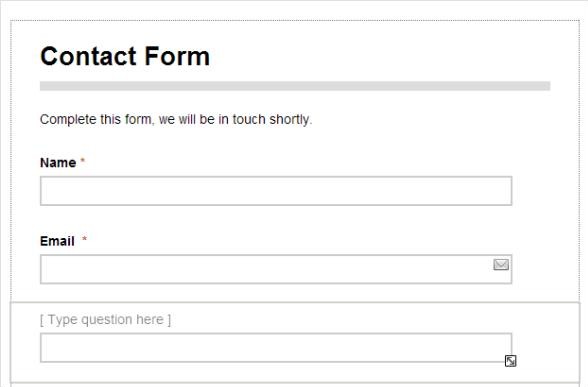
Each of the Elements listed in the left-hand palette of the editor can be dragged and dropped into any section to build your survey.
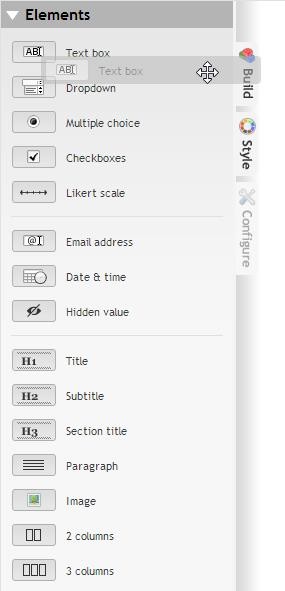
Select and drag the element you wish to use into the desired container within your survey; each container will be highlighted and the text Drop your item here will display when you drag your element over the area you wish to use. Once dropped, the element will be inserted.
Click on Type question here to create your question. When you are editing a particular element of your survey it will be highlighted. The top right corner will display a mini-toolbar allowing you to drag, duplicate or delete the element.
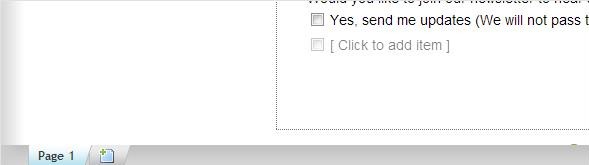
At the foot of the survey you have the ability to add pages. Click on the + to add a new page, double click to rename the page, and click on the right-hand cross to delete it. You can add up to a maximum of 30 pages to your survey.
You can also use the following keyboard shortcuts:
Ctrl and Insert to add a new page.
Ctrl and , to move a page to the left.
Ctrl and . to move a page to the right.
There are a lot of new features to discover. Reading the next few posts at our resource center, you’ll learn how to:
- Configure titles, text box, dropdown, multiple choice and a date and time element
- Configure email address element
- Configure Likert scale element
- Configure submit, save and paging buttons
- Map survey responses to your address books
- Use existing data to pre-populate a survey
- Branch your survey
- Use hidden fields to include values from the query string
- Use CopyKat
- Choose your survey settings
- Share your survey
- Understand your survey reporting and handle survey responses
- Edit a survey which already has response data